Date posted: August 8, 2010
- Types of LEDS and Power Sources
- LED Characteristics and The Simple LED Circuit
- More Series LED Circuits
- Parallel LED Circuits
- LED Circuit Tools and LED Strip Kits
- Wiring Standard Bulb LEDs
- SMD LED Circuit Wiring
- LED Wiring and Current Check for Battery Power
- Placing your LED circuits on your RC Craft
- Remote Controlling your LED Circuit
- Painting With Flight
– Download SMD LED Circuit Wiring as PDF –
Reference our earlier articles for sources of these LEDs as well as our web calculator links to figure out resistance values.
They’re tiny, they’re awesome. Surface Mounted Device (SMD) LEDs. They have brightness, wide viewing angles, and plenty of colors. They’re great for concealment, but that concealment comes at a price.
Tiny little “insert expletive here” S.M.D. LEDs
I don’t have the hands of a surgeon, in fact if I don’t have caffeine my hands are so shaky I look like I just watched a marathon of Who’s the Boss?.
Alas, if you’re up to the task, these little guys can really bring out some neat lighting effects for your LED circuits. Here’s how we put them together and some things to note.
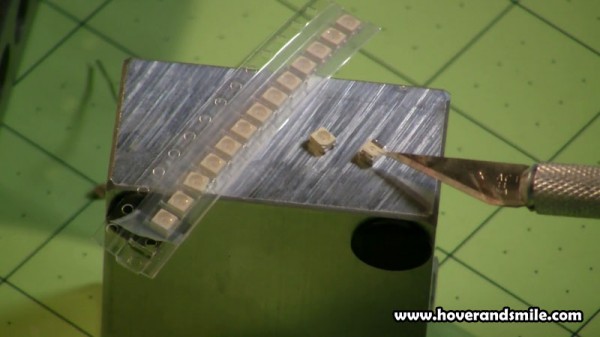
A lot of times you’ll find these LEDs with no clear markings as to which side is negative and which is positive. This is a problem for diodes, because they only work with current going the right way. Therefore, if you buy any of these, take care to look at the data sheets that typically come with them, or look for identifying marks. In our case here, the little notch you can see in the above photo designates the negative side of our LED.
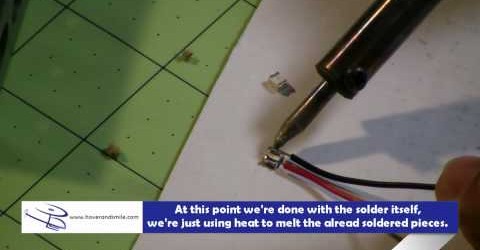
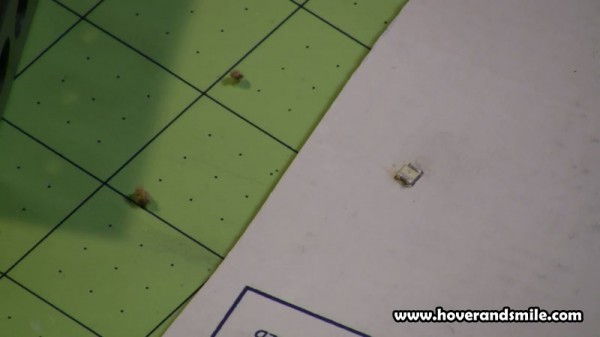
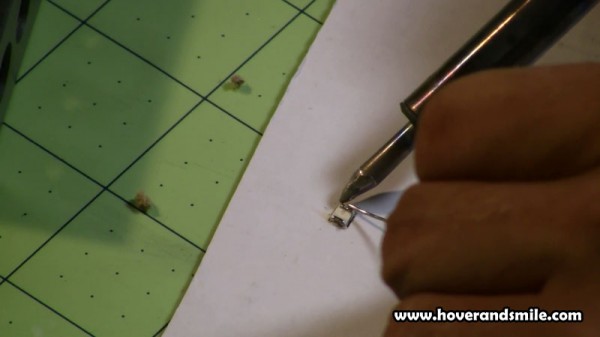
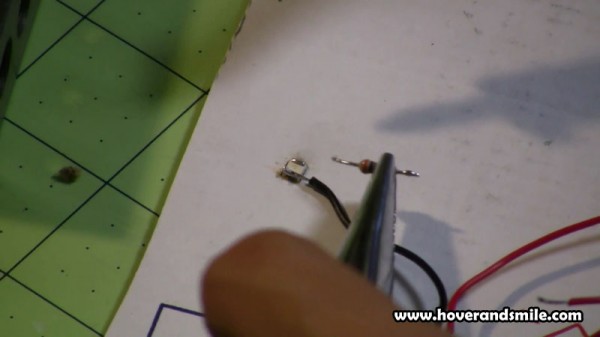
Third arms and alligator clips are just to big to easily handle these guys, so at this point I’ve used a small cardboard crade to hold these LEDs in. It’s cheap, but it works. Just make sure you know which metal contact side is negative and positive, flip theLED over into the cradle, and get to putting some solder on the small metal contacts.
Of course, if you’re really not sure which side is negative and which is positive, wire one up and put a 3V battery against it. It should be enough to light the LED and not kill it if you place the wrong voltage ends against it. Just don’t do anymore than that, they’re easily smoked.
Also, when soldering your wires and resistors to these guys, keep the heat on as little as possible. They’re tiny, and they melt if you keep that hot old soldering iron there too long!
We’re just using two LEDs in our SMD circuits, since we’ll have green, red, and white, that’s six SMD LEDs, three separate circuits. So, we’ll use in general, a 330 Ohm resistor for each SMD pair.
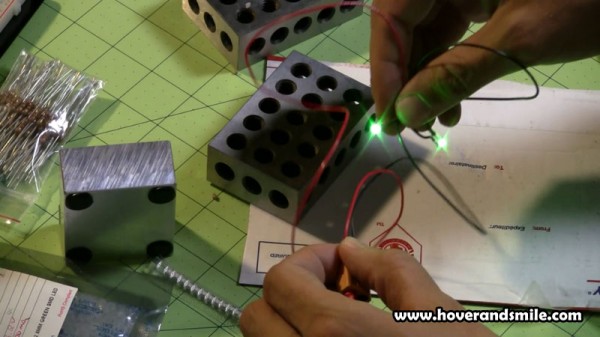
Wiring just as we did in our previous articles, you can see at the end our completed wire circuits, resistor included, lit up with a 12 volt battery.
In the next article and video, we’ll be done with our basic single circuit LED wiring, now it’s time to look at wiring all eight of our LED circuits together!

