Date posted: August 4, 2010
- Types of LEDS and Power Sources
- LED Characteristics and The Simple LED Circuit
- More Series LED Circuits
- Parallel LED Circuits
- LED Circuit Tools and LED Strip Kits
- Wiring Standard Bulb LEDs
- SMD LED Circuit Wiring
- LED Wiring and Current Check for Battery Power
- Placing your LED circuits on your RC Craft
- Remote Controlling your LED Circuit
- Painting With Flight
– Download LED Characteristics and The Simple LED Circuit as PDF –
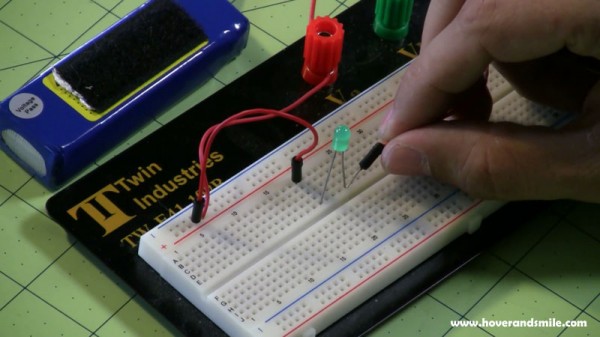
Let’s continue with a look at LED characteristics and a little introduction to your most simple LED circuit, a single LED with and without a resistor (without is bad if you’re using anything beyond 3 volts or so!)
LED Characteristics
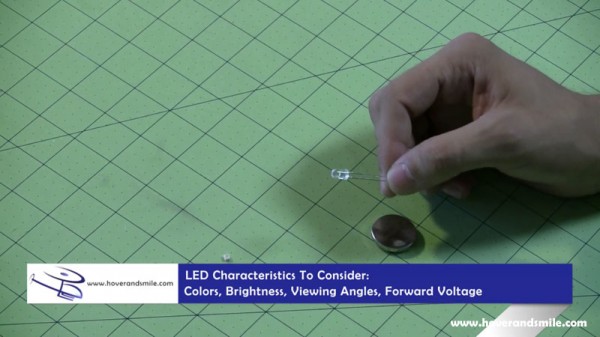
Whether you buy a kit, buy your own LEDs, from standard to SMD types, not all LEDs are necessary viable for your application. There are a variety of colors and brightness levels to consider, as well as power requirements and viewing angles. Let’s dig in, shall we?
Colors
LEDs are now available in all your standard ROY G BIV colors. That’s not a member of Bell Biv DeVoe – it’s your standard rainbow colors – Red, Orange, Yellow, Green, Blue, Indigo, and Violet. Of course, there is also white, pinks, and others. It’s up to your personal tastes. You’ll find red LEDs to tpyically require less forward voltage than other colors, while whites and blues can take higher forward voltage amounts, so it’s a number you’ll have to know based on each LED.
Forward Voltage
Forward Voltage is the amount of volts required to set your LED ablaze (in a good way). LEDs, depending on the color, typically require 2 to 4 volts to power. If you see 12 volt LEDs, they typically have a current limiting resistor soldered into the LEDterminal to allow that higher voltage level to light the LED without releasing the magic blue smoke and destroying your air-bound rave design.
Forward Current
If you’re wiring your own LED circuits, you should know the maximum amount of current the LED will use to blaze in all of it’s electronic glory. Too much, however, and you’ll let out the magic blue smoke and the LED will light no more.
Brightness
LEDs are assigned a brightness value measured in millicandela units. The higher the millicandela (mcd) rating, the brighter the LED. From hundreds to thousands in rating, how bright the LED should be is based on what you’re lighting and what you can tolerate. Most of the LEDs, to be bright enough to see in the dark at a distance away (since you are going to be flying, after all) should be in the thousands of mcd rating. I’ve used smaller mcd LEDs in my helicopter blades, but I also don’t fly it very far away from me yet, so I may increase that later. Your mileage may vary here, it depends on your eyes and the distance you’re planning on flying away. If you’re going to go where no man has gone before, consider at least 6-8000 mcd LEDs.
Viewing Angles
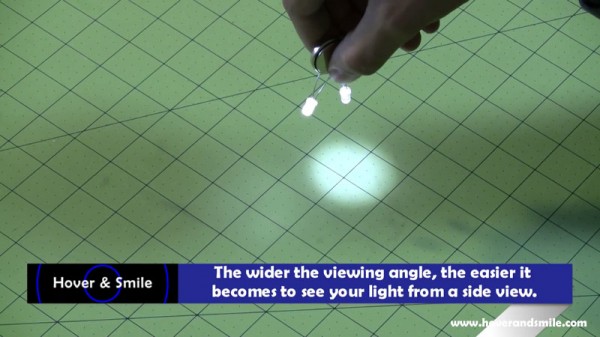
LEDs have different viewing angles where the light is most concentrated for viewing. Smaller viewing angle LEDs have a more concentrated lighted area, and are more of a spotlight compared to a wide angle LED, which can be seen better without having to look at the LED straight on. Depending on what you’re lighting, you may want a wide light or a more concentrated light, so keep viewing angle in mind. If you’re mountingLEDs facing away from the surface of the plane (i.e. ‘lighting up the sky’), make sure the angle is wide enough or LED facing outward so you can see it. If you’re lighting the craft itself (i.e. ‘Starship Enterprise-Style’), you may want more of a spotlight approach.
Wiring your own LED circuits
If you’re wiring your own LEDs, make sure you know your voltage and current characteristics of your LED. This section gets a bit … scholastic, so if you’re wiring your own circuits – it’s good knowledge, if you’re just using kits directly as they’re instructed, you can skip it.
You want to wire your LEDs and you have a battery, and some resistors, but what does that mean to you? Well, let’s examine of the oldest laws in the book. Mr. Ohm, if you will:
Ohm’s law states that the current through a conductor between two points is directly proportional to the potential difference or voltage across the two points, and inversely proportional to the resistance between them provided the temperature remains constant.
Commonly expressed as V=I*R, or Voltage (V-volts) is equal to Current (I-amps) multiplied by Resistance (R-ohms). Since LEDs generally use current measured in milliamps (ma) – make SURE you convert the milliamps to amps as necessary for any calculations. To convert milliamps to amps, divide the milliamps by 1000. To convert from amps to milliamps, multiply by 1000.
LEDs are hungry little devils, they’ll pull as much current as possible, right up until they burn out and break your circuit. So, if you have for example 9 volts of power to your circuit, you have a few options – you’ll either need a high value resistor if using oneLED, or a smaller resistor if you’re using 3 LEDs in series. If I was only wiring one LEDin this circuit, and the LED handles 20 milliamps of current, I’d need a 300 to 330 ohm resistor. If using a higher resistor value, the circuit will work just fine, but the LED will decrease in brightness. Keep in mind that if you really want a more dim light, it’s best to use a lower brightness LED with a smaller resistor value than take a super high bright LED and use a high resistor value to make it just as dim. You can still create the circuit either way, but the need for a higher resistor makes the second circuit less efficient in comparison.
Based on Ohm’s Law, here is the formula for calculating that resistance, depending on the number of LEDs in series:
Let’s plug in some values for an example.
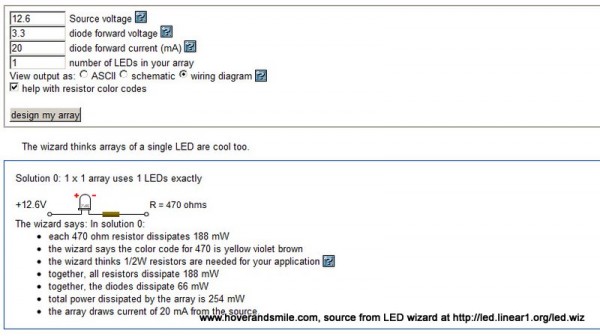
Say I have 12 volts, 1 LED rated at 3.3 Volts, with a current rating of 20 ma. Remember to convert milliamps to amps by dividing by 1000!
Resistance = (12 – 1*3.3) / .02 = 435 Ohms
435 Ohms isn’t a common value, so you can bump it up to say 470 and be just fine.
No, No, No…. NO Math!
Okay, okay, if you don’t want to constantly calculate this stuff out, don’t worry! There are a LOT of LED light calculators for you out there, and they draw all the little pictures of LEDs, tell you exactly what Ohm resistor to buy, and even statistics of your circuit. Some will even give you alternate wiring methods (as in, wiring 4 LEDs, to wire 4 in series, or 2 pairs in parallel).
Here’s some LED calculators to try out:
An example output of the LED Wizard calculator. We input 4 numbers, it tells us the resistance value we need.
In the next articles we’ll go over series and parallel circuits, so you can wire up more than just one little LED.

