Date posted: August 5, 2010
- Types of LEDS and Power Sources
- LED Characteristics and The Simple LED Circuit
- More Series LED Circuits
- Parallel LED Circuits
- LED Circuit Tools and LED Strip Kits
- Wiring Standard Bulb LEDs
- SMD LED Circuit Wiring
- LED Wiring and Current Check for Battery Power
- Placing your LED circuits on your RC Craft
- Remote Controlling your LED Circuit
- Painting With Flight
– Download More Series LED Circuits as PDF –
So, last time we introduced the simple LED circuit. A power supply (your battery), anLED (the light), and a resistor (to limit current). We introduced all the math you’d need to calculate this, but hey, let’s not stand in the way of progress! Check out these links for online LED calculators that give you the exact resistance you’ll need to handle whatever LED wiring configurations you like:
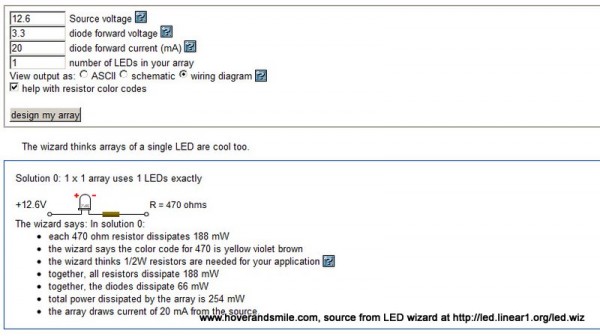
The example below is from the LED Wizard.
It tells us, just like our calculations did, that we need a 470 Ohm resistor. It’s much faster than doing the calculations yourself, but at least this way you know what calculations it’s doing for you.
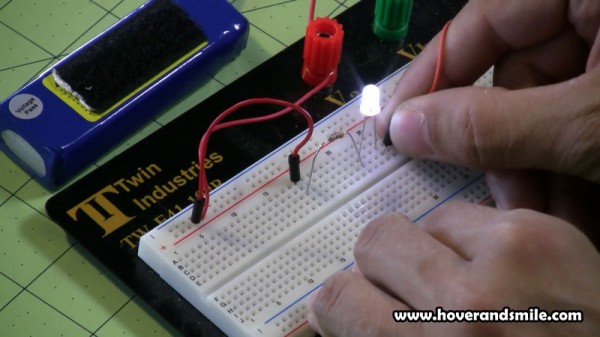
And here is a single LED with a 470 Ohm Resistor. A perfect match, lighting up nicely.
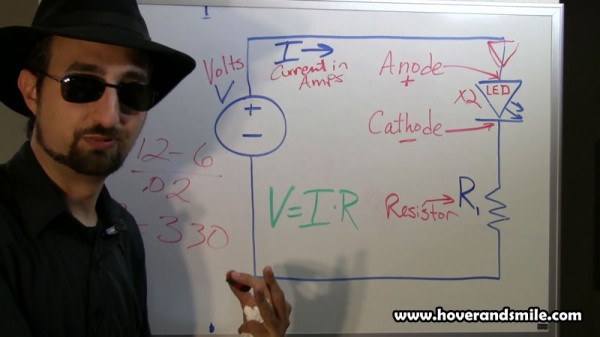
Now, since that lights up ONE LED, what happens if I plug another 3.3 Volt LED in series? I’m limiting my current already with the resistor, so it won’t burn out, but will happen is that both LEDs will light up, but not as bright as one alone. This is because we’ve changed that sum of forward voltage. Time to re-calculate!
Resistance = (12.6 – 2*3.3) / .02 = 300 Ohms (although some wizards will say 330 as it’s a more common resistance value)
So now, if I use just two LEDs, I need to lower my resistance. If I use three LEDs, I lower it some more!
Why? Well, say we used 470 ohms with 2 LEDs. Our current drops! With a little algebra the equation would look like this using the first 470 Ohm resistor:
470 = (12.6-2*3.3) / I
I = (12.6-2*3.3)/470
I = .012 amps = 12 milliamps
Only 12 milliamps is allowed through the circuit now. That’s not as bright! We must lower the resistance of the circuit to allow the two LEDs to light up just as bright as the single LED because we’ve changed the voltage drops (even if the supply 12.6 volts remains the same). It’s all proprotional. More voltage drops requires less resistance to maintain the proper current. Add an LED, remove an LED, and you must recalculate!
With an example forward voltage of 3 volts per LED and power supply of 9 Volts, you could wire up all 3 LEDs in series and not need a resistor at all (although a resistor is still a good idea with LEDs – even a single Ohm resisotr). However, say you wanted to wire four LEDs? If you wired them in series, you’d get ‘no-joy’. The sum of forward voltage of your LEDs has to be less than your supply voltage.
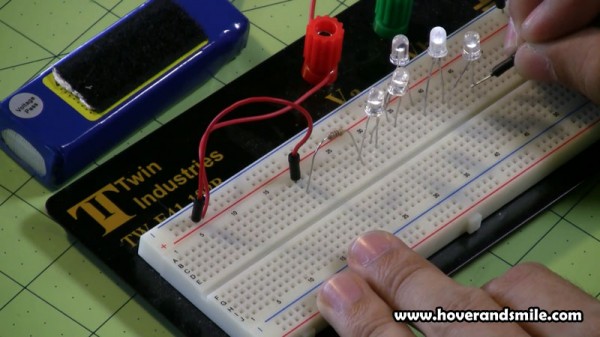
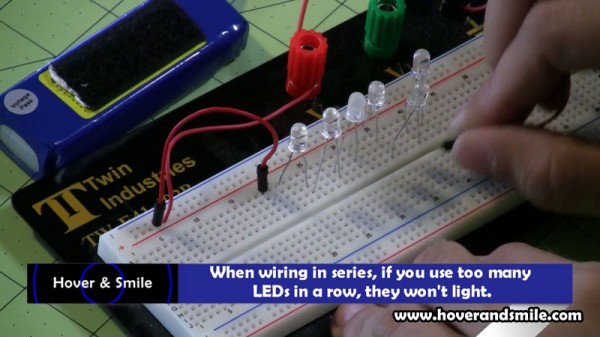
Here we have the same 470 Ohm resistor but with 5-6 LEDs. Each time we add an LEDin series we get less light, and if the sum of our forward voltage (add up all the LEDforward voltage numbers) is greater than our power supply of 12.6, you’ll either get dimly lit lights, or NO lighting at all.
Vinnie says that if you use too many LEDs in series, they won’t light up, depending on how many volts of supply you use.
If you can only light so many in series, how do you add more LEDs?
PARALLEL CIRCUITS
If you’ve looked at the LED calculators or watched this movie by now, you may have noticed that if I have 1 LED, 2 LEDs, or 3 LEDs in series, although the voltage drops increase, my current does not. I’m still only pulling .02 amps through the circuit.
But if we have to wire LEDs in parallel to get more to light up than just a couple, each parallel line will have it’s own separate current draw. So with parallel circuits, your current will increase.
We’ll go over the parallel circuits in the next part!

